Quick Start — Your First Desktop Click
Add an app, create a target, and run Click Pointer
This tutorial builds a real Windows automation path:
Desktop app → Windows automation target → Workflow
→ Default target → Click Pointer → Save, Check, Run
Use a safe test app and a harmless blank area. Do not test on controls that delete, send, pay, purchase, or overwrite data.
1. Add a desktop application
- Open Settings → Desktop Applications.
- Select Add Application.
- Enter a recognizable name and choose the executable.
- Add launch arguments one per line only when needed.
- Wait for “Saved locally.”
Yotta creates a stable slot. Workflows reference that slot instead of storing your absolute path.
2. Create a Windows automation target
- Open Settings → Automation Targets.
- Add a Windows Target.
- Choose the desktop application from step 1.
- Use Exact Match for a fixed title or RE2 Regex for a changing title.
- For the tutorial, require a unique window match.
- Select
SendInput · foreground system input. - Keep the default capture backend.
- Check current window matches and confirm the intended test window is unique.
You can also start window capture, switch to the target, and press F9 or the configured capture key. The target slot cannot be renamed after saving because workflows depend on it.
3. Create a workflow
Open Workflows, select New Workflow, name it “First Click,” and open it.
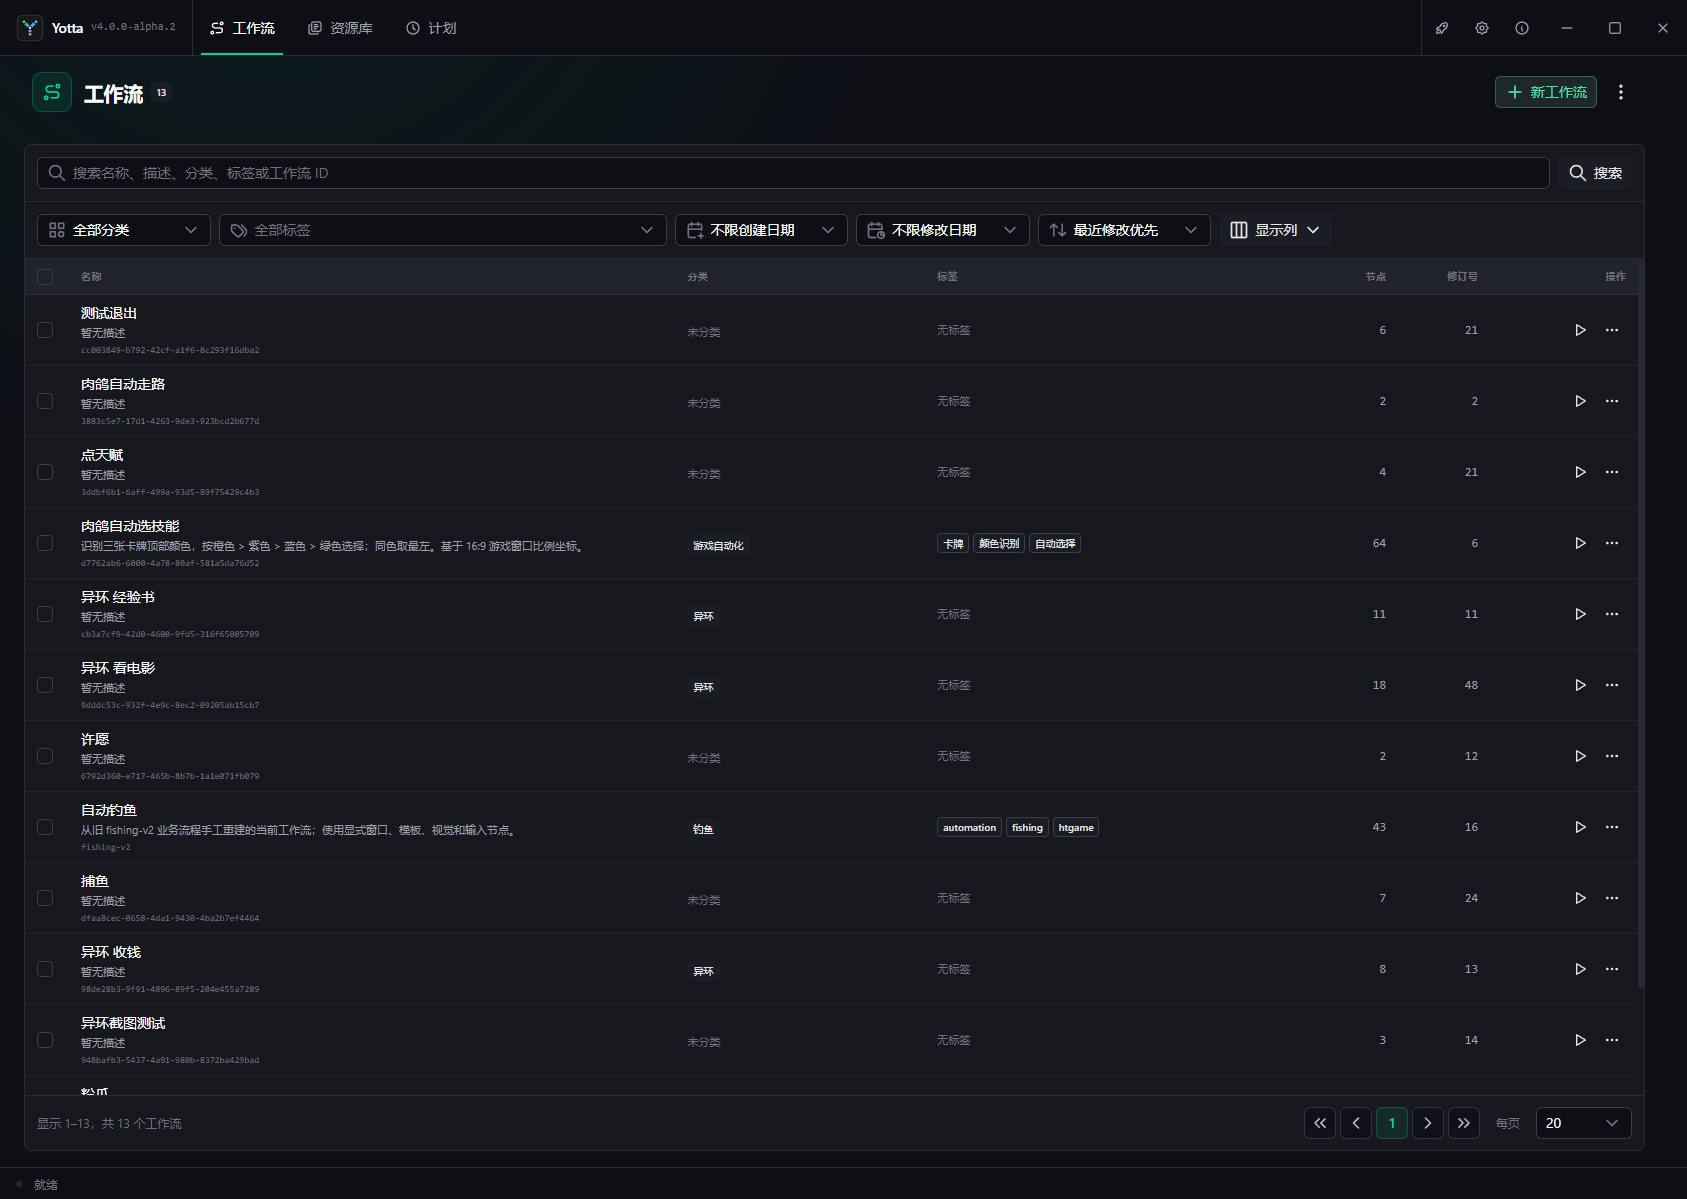
The new workflow contains Run Started, which emits one signal at the beginning of every Run.
4. Select the workflow default target
In the canvas toolbar, select the monitor icon labeled Default Automation Target and choose the
target created in step 2. Automation nodes that require the generic target slot now inherit it.
An individual node may explicitly override this default; Restore Inheritance removes that override.
5. Add Click Pointer
Open Add Node, search for Click Pointer, and add it to the canvas. Select the node and configure:
| Input | Tutorial value | Meaning |
|---|---|---|
| Target | Inherit workflow default | Which window receives the click |
| Point | X=0.5, Y=0.5, ratio |
Center of the target client area |
| Pointer button | Left | Left, right, or middle button |
| Hold duration | Default | Delay between press and release |
Ratio 0.5, 0.5 means the center of the target client area, not the screen center.
6. Connect, save, and check
Drag Run Started's Started signal to Click Pointer's Input signal:
Run Started: Started ──> Click Pointer: InputSave the workflow, then use Tools → Check. If Target is missing, select the workflow default again or restore inheritance on the node.
7. Run and inspect
Keep the test app open and select Run. Open Timeline and verify that Run Started and Click Pointer succeeded in order. Triggering the active entry again stops its Run; use the global stop shortcut for an emergency stop.
Finally, close the test app and run once more. Confirm that Yotta reports the target as unavailable, then reopen it and verify recovery.
Continue with the complete editor tour and node scenarios.